This article shows how to configure xDM application to have Date Picker components on Form or on Collection. Date pickers simplify the user experience for Data Stewardship and direct Data Authoring avoiding users to input date information respecting the right input format.
| Note: If you have not configured any model and application yet, you can refer to Create a data model, Create entities and attributes articles for more details. |
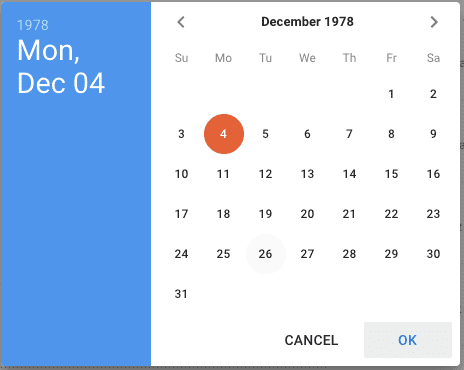
If you want to use a Date Picker in an xDM application, you need to have a Date or Timestamp attributes in your model. The behaviour of Date Picker will adapt automatically to:
- Date attribute: single-step date picker to select Day, Month and Year
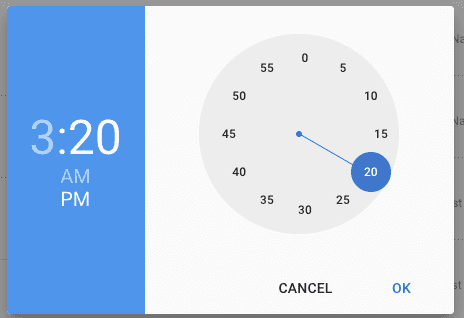
- Timestamp attribute: 2 step date picker:
- Select Day, Month and Year (same as above)
- Select Hours & Minutes (Seconds can be changed manually once date picker is closed)
Configure a Date Picker on a Collection
Open your model in the Application Builder and follow these steps:
- Expand Entities node and select the target Entity
- Expand it, and go to Collections
- Expand it, and double click on target Collection
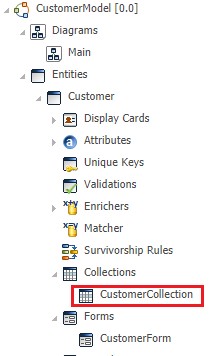
- In the attribute list, identify the target date (or timestamp) attribute and select it
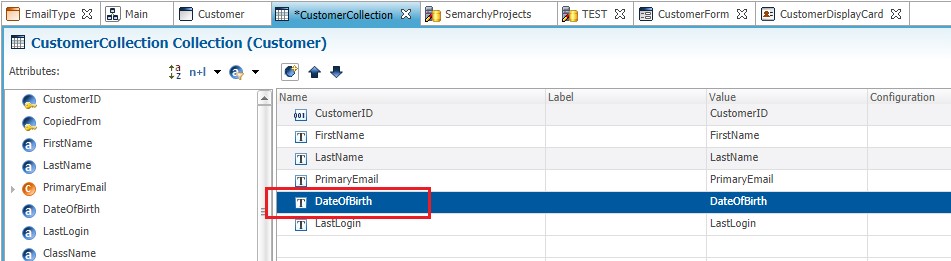
- On the lower Properties Panel, go to Display Properties
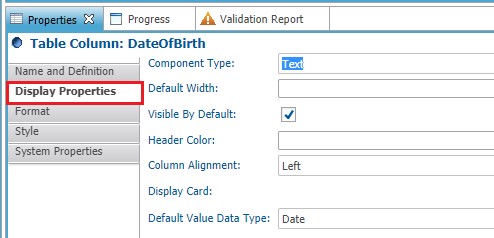
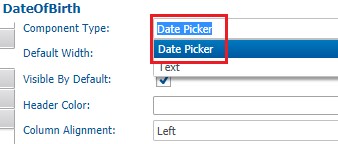
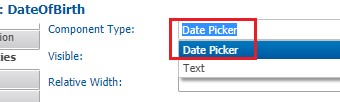
- Go to Component Type and select Date Picker instead of Text
- Save your Collection
Configure a Date Picker on a Form
Open your model in the Application Builder and follow these steps:
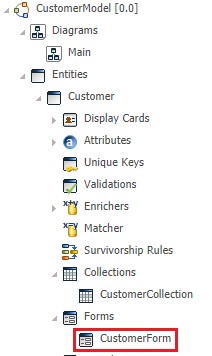
- Expand Entities node and select the target Entity
- Expand it, and go to Forms
- Expand it, and double click on target Form
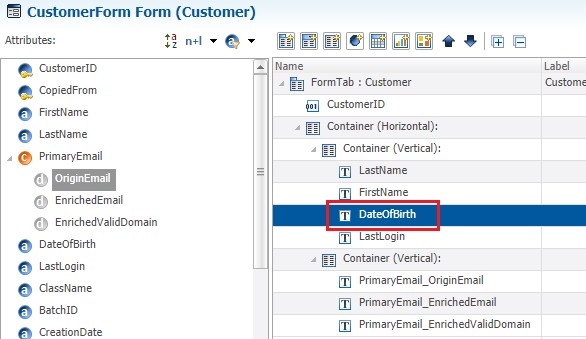
- In the attribute list, identify the target date (or timestamp) attribute and selected it
- On the lower Properties Panel, go to Display Properties
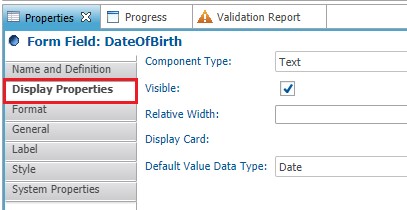
- Go to Component Type and select Date Picker instead of Text
- Save your Form