This article shows how to replace standard icons on entities to enhance Data Application user experience. With icons, Data Architect can provide meaningful UI to Business Users.
| If you do not have created any model and diagram yet, refer to Create a data model and Create entities and attributes articles for detail |
| Adding meaningful icons can help you to reduce text length for menu items and titles of many elements (stepper, collection, forms, tabs, ...). When you choose Material Design icons, you can use the same icon and colorize them in Navigation Drawer to specify purposes of menu items (ex: red for reject list, orange for duplicate management, blue for Entity browsing, ...). You don't need to manage one icon for each color you need in the Image Library. |
Assign an icon to an entity
Open your model in the Application Builder and follow these steps:
- Expand the Diagrams node and double-click your diagram.
- Select the target Entity to add the mandatory attribute, double click on it.
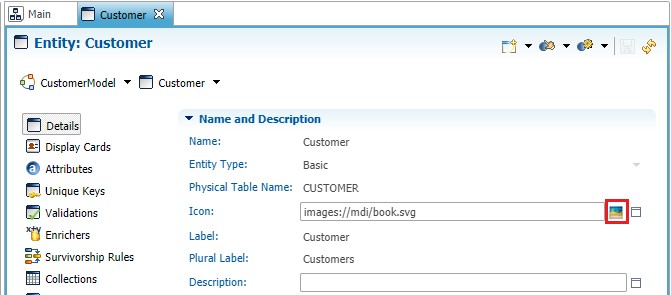
- On entity Details panel, find Icon attribute and click on Select Image

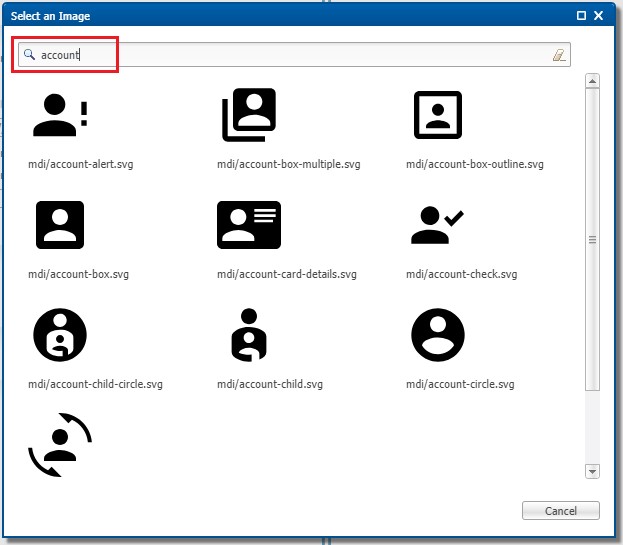
- The pop-up allows you to search for images or icons in the Image Library. Please refer to Add Image to the image library to manage icons in Image Library.
- Type in the search bar the name (or part of the name) of the icon you want and Enter to search

- Select the icon (the pop-up will close automatically) and Icon property contains now the path to the selected image

- Save your entity.
